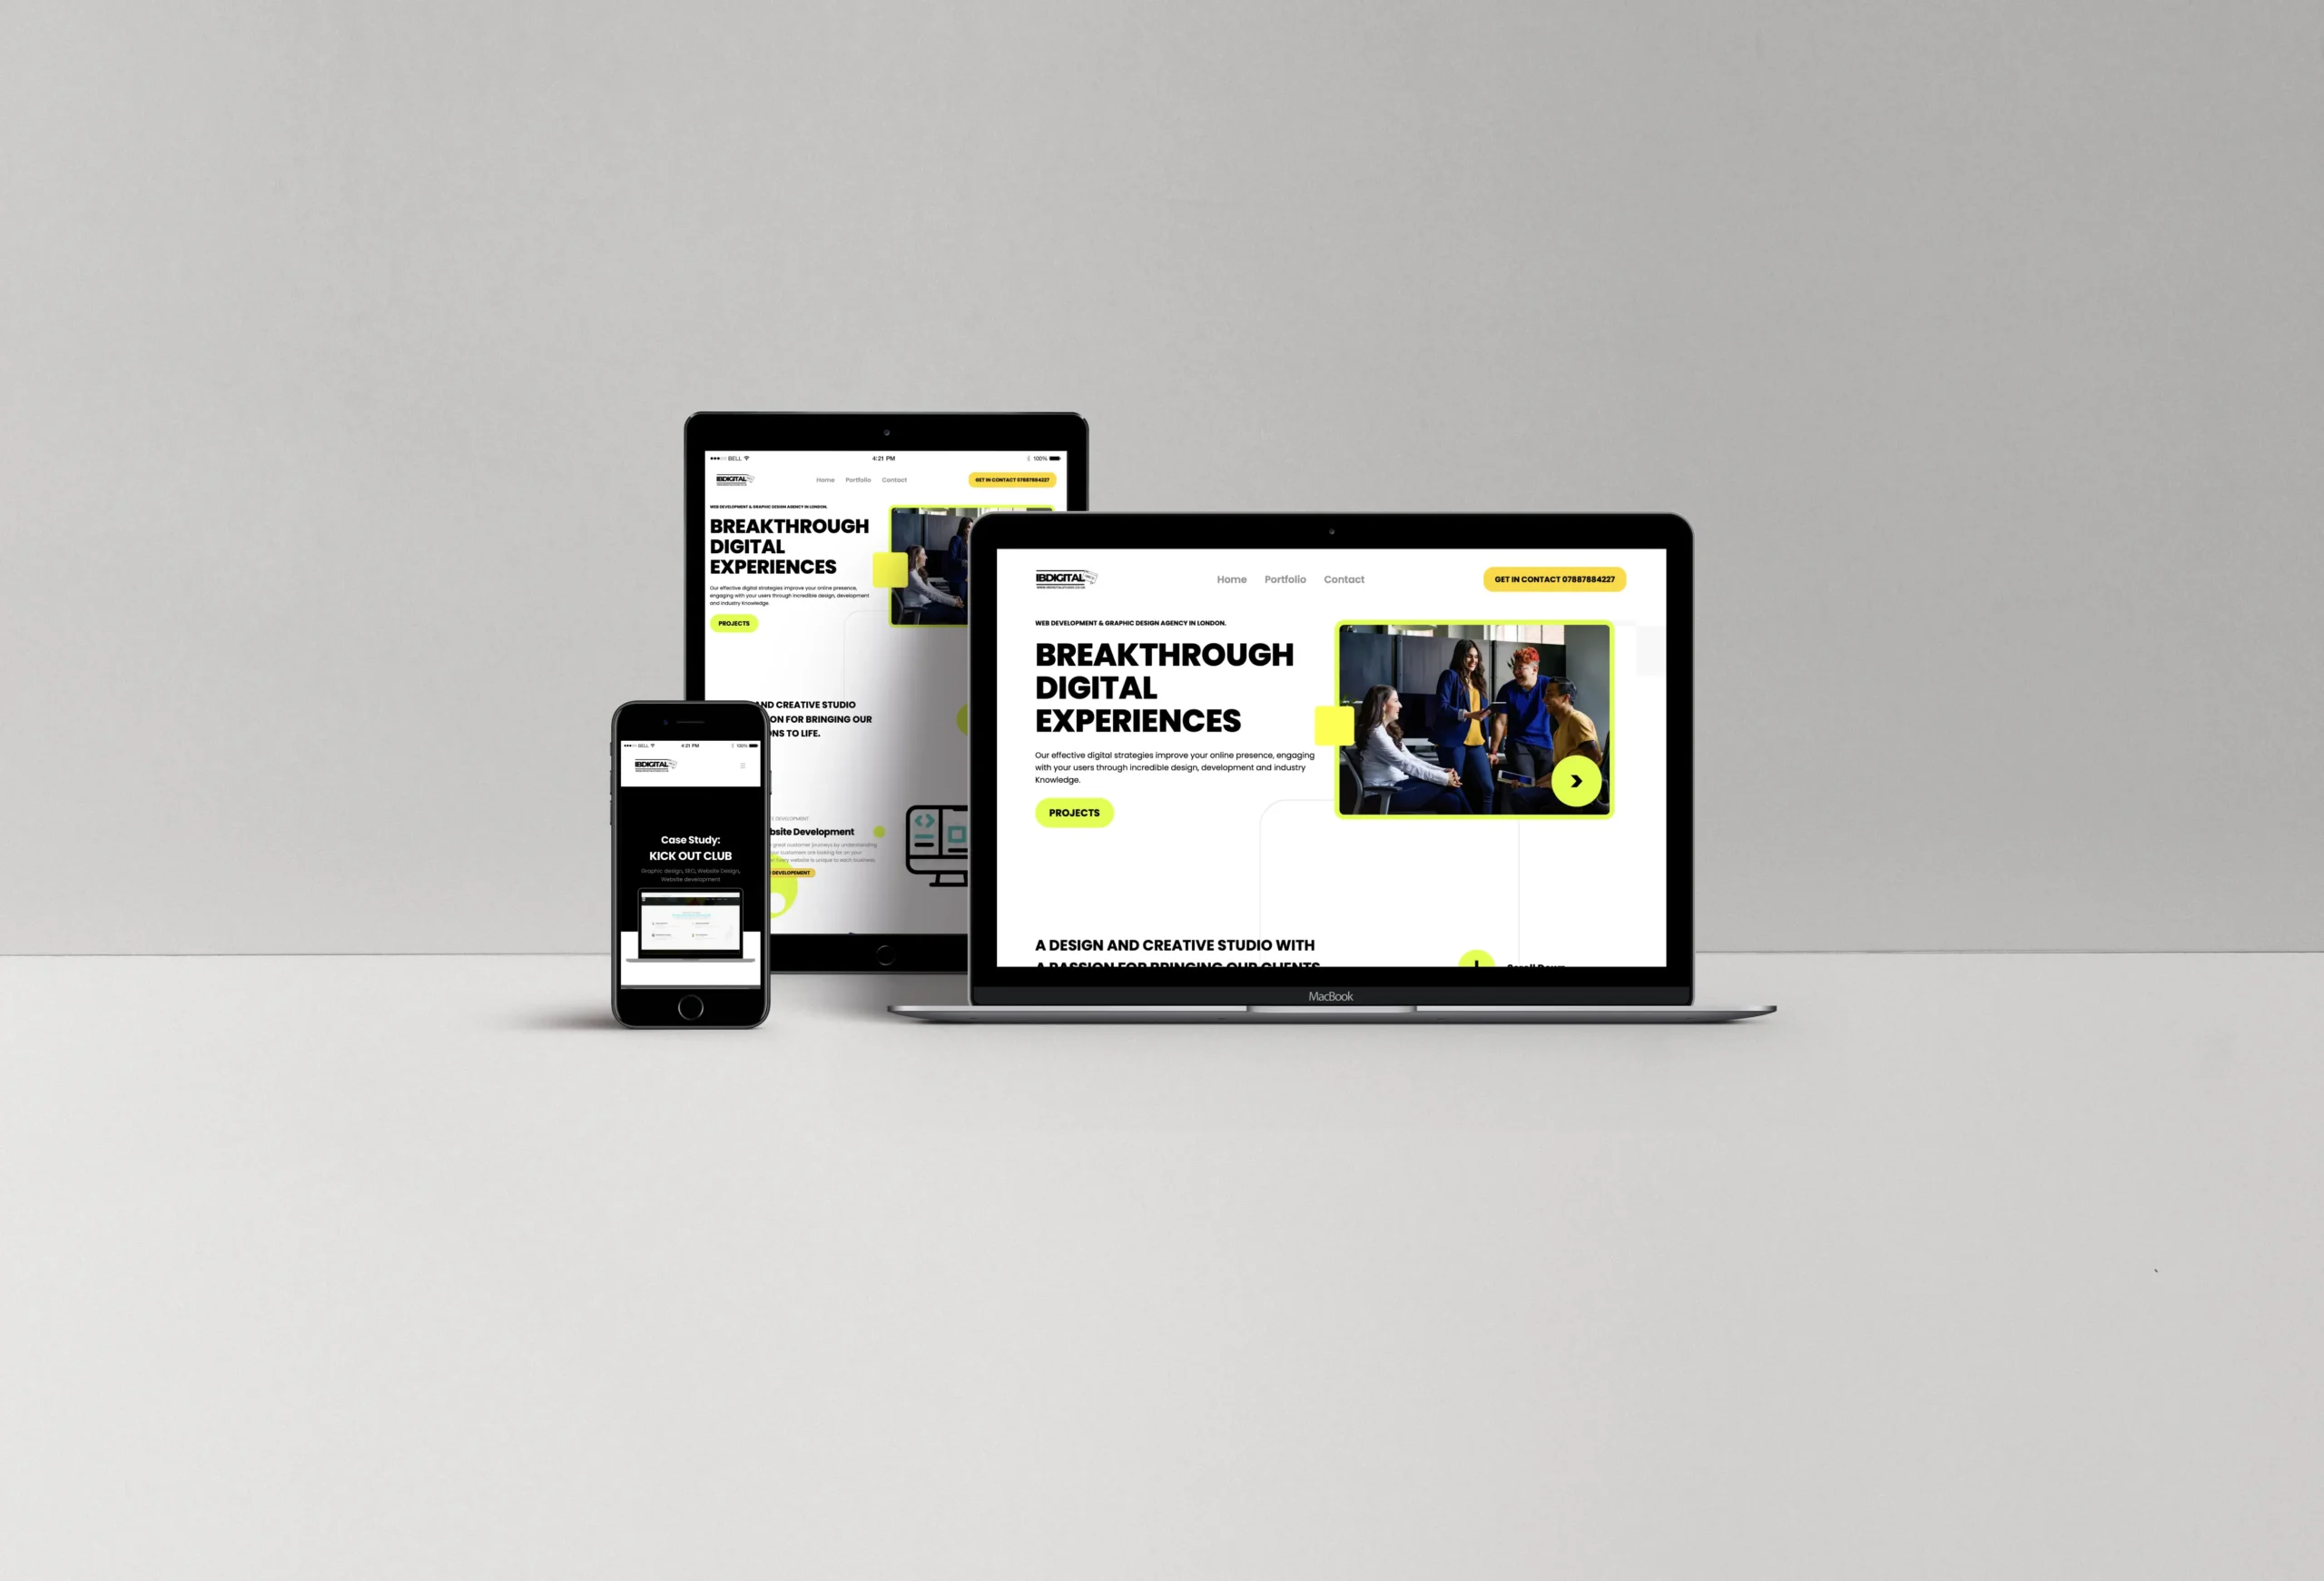
If you’re about to design a website, congratulations – you’re in for a ride! Designing a website is a bit like painting a mural: you need a vision, the right tools, and a steady hand. But unlike murals, websites come with challenges like mobile responsiveness, SEO, and, let’s face it, occasional hair-pulling when things don’t quite look as they should.
In this article, we’ll dive into the essentials you need to design a website, covering platforms, key software, and some good old-fashioned SEO to make sure your site doesn’t just look fabulous but also gets noticed by search engines.
Step 1: Visualise Your Design
The first step to design a website is visualising your end goal. A lot of designers sketch out layouts before they even get near a computer – and there’s a reason for that. This blueprint will help you imagine the structure of your site, where images will go, how much text you’ll need, and whether you can fit in that enormous “Contact Us” button without scaring people away.
Some popular tools for designing wireframes (your digital sketch) include:
- Figma: Great for real-time collaboration, Figma is ideal if you’re working with a team. It’s simple, accessible online, and offers a whole lot of options for creating interactive prototypes.
- Adobe XD: If you’re familiar with Adobe products, XD fits right in. It’s powerful, loaded with features, and perfect for turning your ideas into detailed design layouts.
- Sketch: A beloved tool for many designers, though it’s Mac-only. Sketch is lightweight, highly functional, and excellent for quick prototyping.
Step 2: Pick Your Platform
Choosing a platform is like picking your car. Sure, you could walk to your destination, but it’s a lot easier when you’ve got wheels. Here’s a quick look at the main platforms you’ll encounter when you design a website:
- WordPress: The favourite of web designers and bloggers alike. With WordPress, you get flexibility and thousands of customisable themes. Just bear in mind, you might need to do a bit of plugin wrangling to get all the features you want.
- Squarespace & Wix: For those who prefer a no-fuss approach, these platforms offer drag-and-drop simplicity. They come with templates that are already beautiful, but you might find them a bit limiting if you’re trying to add complex features or custom code.
- Shopify: Designed for e-commerce, Shopify is the dream car for anyone selling products. It handles everything from product catalogues to payment processing and has plenty of modern templates to showcase your goods.
- Webflow: For the designer who wants more control over customisation without diving into too much coding, Webflow offers a great balance. It has a bit of a learning curve, but the customisation options are endless – ideal for creating that unique, eye-catching design.
Step 3: Embrace SEO
You can design a website that looks like a million pounds, but if search engines can’t find it, it’s like hiding a Michelin-star restaurant down a dark alley. Here’s how to make sure your design is SEO-friendly:
- On-Page SEO
- Use relevant keywords (like “design a website”) naturally throughout your content.
- Break up text with headers (H1, H2, etc.) to make it easier for both users and search engines to navigate.
- Avoid overstuffing keywords – Google has been around the block and won’t fall for it.
- Image Optimisation
- Compress images so they load quickly; a slow site is bad for SEO.
- Add alt text to every image – it’s like adding captions for search engines to “read” your visuals.
- Meta Descriptions and Titles
- Each page should have a unique meta description and title that explain the page content clearly. This not only helps with SEO but also tells users what to expect.
- Your title should include key phrases relevant to your content, but make it sound appealing to human readers too!
- Internal Linking
- Link to other pages within your site. It helps visitors explore more, and search engines understand the structure of your website better.
Step 4: The Colour Palette & Typography Choices
One of the joys of designing a website is choosing your colour palette and fonts. This is where you can really give your website a personality.
- Colours
- Limit your colour palette to two to three main colours, plus a few accent colours if needed. Too many colours can make the site look chaotic – like a Jackson Pollock painting gone wrong.
- Check your contrast! Not only does this make text easier to read, but it also improves accessibility, helping visually impaired users navigate your site.
- Typography
- Choose a primary font for headers and another for body text. You don’t want your site looking like a ransom note with a hundred fonts jumbled together.
- Make sure fonts are web-friendly (Google Fonts is a lifesaver here) and legible on both large screens and mobile devices.
Step 5: Testing Before You Go Live
Before you throw your website into the wild, it’s time for a final polish. Testing ensures everything works smoothly, looks fabulous, and doesn’t crash at the first click.
- Cross-Browser Testing
- Open your site on Chrome, Firefox, Safari, and Edge. Each browser has its quirks, so you want to make sure the design remains consistent across all platforms.
- Mobile Responsiveness
- Use tools like BrowserStack to test how your design adapts to different screen sizes. Mobile-friendliness is essential – Google even prioritises it in search results.
- Page Load Speed
- Run your site through Google PageSpeed Insights. A slow website won’t rank well in search engines, and it’s guaranteed to turn visitors away faster than a pop-up ad. Compress those images, keep your code clean, and streamline any bulky plugins.
- Accessibility
- Make sure the site is accessible for all users. This means using alt text, choosing accessible colour combinations, and ensuring everything can be navigated via keyboard.
Going Live – You Did It!
Once you’ve checked and double-checked your design, it’s finally time to go live! This is the moment when all those hours of designing, testing, and tweaking come together, and your website officially enters the digital world.
Now, as any designer will tell you, a website is never truly “finished.” Trends change, content gets updated, and you’ll likely find yourself making tweaks long after launch day. But for now, give yourself a pat on the back and maybe even a victory lap. You’ve officially conquered the task of designing a website.
Wrapping Up: Design a Website with Confidence
In the world of web design, getting started is often the hardest part. But with the right tools, a solid plan, and a touch of creativity, designing a website can be a genuinely rewarding process. You don’t have to be a tech wizard – just a bit of patience, some user-friendly tools, and an eye for detail are all you need to create a site that shines online.
Happy designing!


